Wednesday, September 7, 2011

Lemon Shortbread Cookies with Fig Ice Cream

Yes, you read correctly! Fig ICE CREAM! Figs are perfectly in season right now and they are SO good, so I decided to make them into an ice cream and then sandwich it between a complimentary cookie. Even though the summer season is winding down, it's still upper 80s here in NC, so I'm makin' ice cream!


I bought about 20 Black Mission Figs, as ripe as I could find. A ripe fig feels like it just might burst if you squeezed it. I chopped up the figs and put them in a saucepan along with some water and some sugar and then cooked it down until it was all a sticky, gooey, mess, kinda like jelly with chunks of figs in it. I pureed this in the food processor and added some cream, some milk and a little lemon juice to temper the sweetness. Once the mixture was chilled, the whole thing got spun in my trusty ice cream machine. Voila, Fig Ice Cream!

Fig Ice Cream
adapted from David Lebovitz

Ingredients

about 20 fresh figs
1/2 c water
zest of one lemon
2/3 c sugar
1 c heavy cream
1/2 c milk
1/2 tsp lemon juice

Directions

Cut the stems from the figs, chop them roughly, and place them in a medium saucepan along with water, sugar and lemon zest. Cook over medium until the figs are tender and the mixture becomes thick and sticky, with the consistency of jelly. Cool, then blend in food processor with cream, milk and lemon juice. Chill and then spin in ice cream maker.

Moving on to the cookie. I think fig goes well with a number of other flavors. Nuts, for one, particularly I think of almonds. Figs also go well with citrus, orange or lemon. I had a beautiful large lemon at home, so I decided to go with lemon shortbread. Shortbread cookies are so named because the amount of butter in the cookie serves to "shorten" the dough. (This is also how shortening got its name.) When making baked goods, any liquid added to flour allows for the development of gluten, which is a protein that toughens the structure and adds elasticity and stretch (think of bread dough being worked, that's got a lot of gluten). But, with these cookies, you don't want stretch, you want crumb, so butter is added to essentially "shorten" the strands of gluten produced and limit the elasticity of the dough. If you want to see how elastic shortbread dough is, blend it really well, then pull the ends apart. You will not see any stretch, it will just break apart. So, there's a quickie on shortening, and shortbread cookies. Now, let's bake!

Lemon Shortbread Cookies
adapted from The Joy of Cooking

Ingredients

8 oz unsalted butter, room temperature
2 tsp lemon zest
1 c sugar
1/2 tsp salt
1 large egg yolk
1 large egg
2 tsp vanilla
2 1/2 c flour

Cream butter, with lemon zest, sugar and salt, then add egg and yolk until combined. Add in vanilla, then reduce the speed and add in flour until just combined. Smush down the dough some, divide it in half and wrap it in plastic wrap. Allow to cool in the fridge for at least an hour.

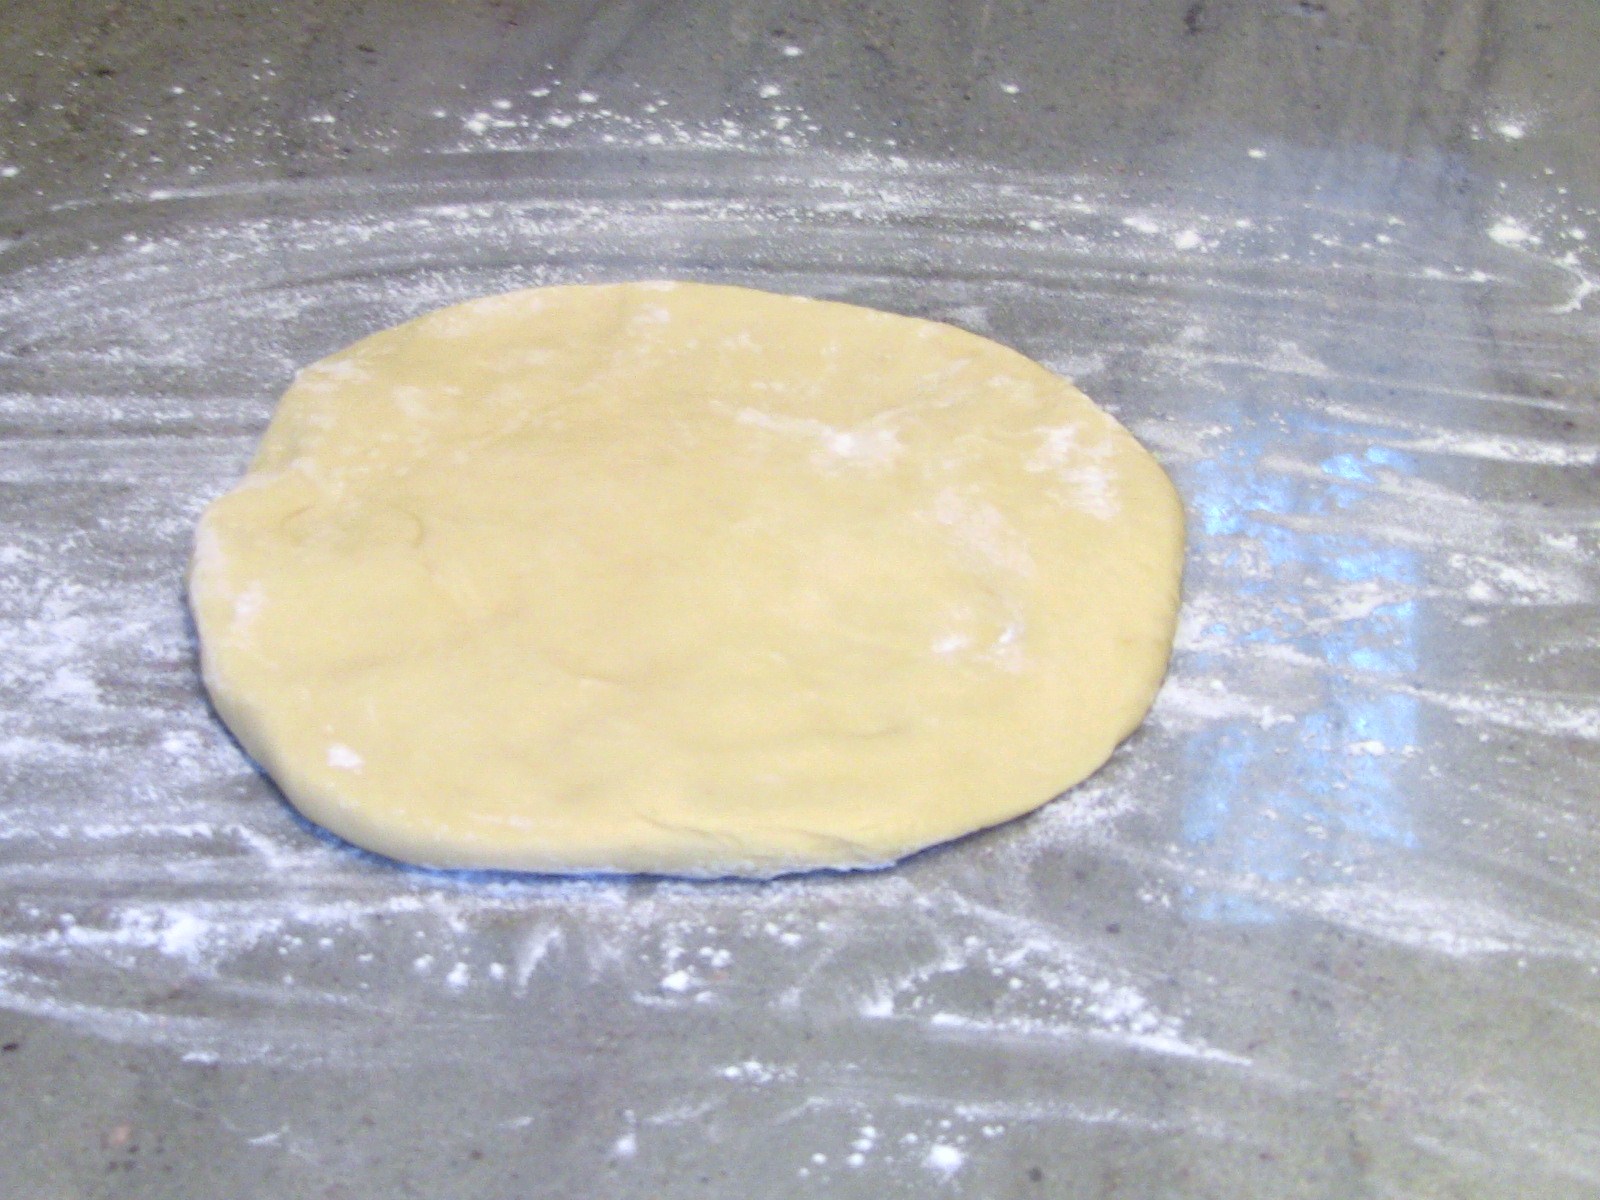
Preheat oven to 375°F, and separate your two oven racks. Roll out the dough to about 1/8 inch thick on a floured surface. Cut out shapes using cutters. Unused dough may be re-rolled one time.

Bake until the cookies are slightly golden brown at the edges (about 8 minutes, depending on the thickness of your cookies). Transfer to a rack and cool to room temperature.

All in all, I found the flavor of the lemon shortbread to be quite complimentary to the fig ice cream. The first time I made it, the shortbread cookie was fragile (the nature of shortbread) and got a little too hard in the freezer, making it difficult to bite down into the sandwich. I made the second batch a little bigger and a little thicker, so it stayed softer, even when frozen with the ice cream.


I think putting stuff into a sandwich makes it even more delicious! Consider this a work-in-progress.

Tuesday, September 6, 2011

What's fer breakfast?

Ever since we got back from our family beach vacation in early August, I've been trying to stop eating everything in sight. Since, basically what we did during the week of family vacation was...ate everything in sight. Between the temptation of Tina's fantastic dinners and all the snacks I brought ("for the kids"), we packed a lot in. So...for the past 3 weeks I've been really, really good. No weekend morning pancake breakfasts have been happening. But, when presented with a delicious breakfast idea that was ALSO something new in the kitchen, I had to move on this!

Although I've made countless waffles in my life, I'd always heard of another type of waffle, the elusive "yeasted waffle." Most waffle batters use buttermilk to help with the fluffiness, but this recipe does not. The trick with yeasted waffles is that it's not a "spur of the moment" kind of breakfast. You gotta make the batter the night before so it can sit overnight and rise and bubble. Trust me, you are going to want to do this. When you wake up in the morning, you want to jump out of your skin and get right to eating! The smell of the yeast rising from the kitchen is INSANE!!

I searched all over the internet for yeasted waffles and almost all posts kept coming back to one recipe - Marion Cunningham's from The Breakfast Book.

A few really nice things about this recipe:
- It's easy
- It doesn't require any whipping or folding of egg whites (again, uses yeast for volume)
- It uses dry yeast, which is the kind that's most readily accessible (also called instant yeast or active dry yeast)
- You get to watch the yeast working, the bubbling is super duper cool.
- Did I mention how great it smells in the morning?
- Although you do have to think ahead, there is very little work to do in the morning!

On to the recipe:

½ cup warm water
1 package (or 2 ¼ tsp.) dry yeast
2 cups milk, warmed
1 stick (½ cup) unsalted butter, melted and cooled slightly
1 tsp. table salt
1 tsp. sugar
2 cups all-purpose flour
2 large eggs, lightly beaten
¼ tsp. baking soda

Put the warm water in a bowl (choose a large bowl, since the batter will double in size when it rises) and sprinkle the yeast over the top. After about 5 minutes, whisk smooth to be sure the yeast has dissolved. Now, add the milk, butter, salt, sugar and flour and mix until well blended. The batter will not be very thick, so this can be done with an electric mixer. If you are doing it by hand (which I did), use a whisk to be sure you break up the flour and end up with a smooth batter. Cover and set aside overnight at room temperature.


When you wake up, remember you are going to smell that yeasty goodness coming from the kitchen, get in der (no need to change out of your pjs, cause you're gonna want to laze around a bit after this) and add in your eggs and baking soda.


Get some coffee on now too, because it won't be long. Heat up the waffle iron and pour some batter in! The batter is very thin, so try not to over pour or you will have batter running down the sides of your waffle iron.

Give the first batch a few minutes in the waffle iron, I'd say at least 5, then gently lift up on the lid (like you would with any waffles) to check their doneness. They should be golden brown and they will be crispy. These waffles are easily THE BEST that Todd and I ever tasted. They are delightfully crisp and not too sweet, even slightly salty (which goes great with the maple syrup). Best eaten when fresh! Delish!


Up next, later this week: Macarons! (In keeping with the season, I'm going to try both plum and fig flavors. It will be an experiment!)

Friday, August 26, 2011

August Daring Bakers Challenge - Candy (Rolled Truffles)

The August 2011 Daring Bakers’ Challenge was hosted by Lisa of Parsley, Sage, Desserts and Line Drive and Mandy of What the Fruitcake?!. These two sugar mavens challenged us to make sinfully delicious candies! This was a special challenge for the Daring Bakers because the good folks at http://www.chocoley.com offered an amazing prize for the winner of the most creative and delicious candy!

I decided to make 2 rolled truffles, a lavender-blueberry and a chai flavored. I don't have a functioning candy thermometer, so tempering chocolate was not on the menu at this time. I promise I'll get one and do it soon, because it really is fascinating (as well as a delightful mess)! On to the truffling!

Truffles
Servings: Makes about 30 truffles

Basic Ganache Ingredients
9-11 oz Bittersweet Chocolate, finely chopped
2/3 cup Heavy Cream

To make the lavender-blueberry ganache, combine 1 1/4 c fresh or frozen blueberries (I used frozen for this) with about 1/3 c sugar in a saucepan and heat over low, crushing berries with your spoon and allowing them to macerate and release their juices. When mushy, increase heat to medium and add 1 tablespoon crushed lavender (culinary).

Boil until thickened and reduced, about 5 minutes.


Remove from heat and push through a fine-mesh sieve, to remove as much liquid as possible.


Add your chopped chocolate (I used about 11 oz for this recipe) to the same bowl.


In a saucepan, heat the cream until it is almost boiling (starts to bubble around the edges of the pot). Pour the cream over the chocolate and whisk until smooth.

To make the chai ganache, combine the cream with 1 1/2 Tbsp loose black tea, 2 cinnamon sticks, 8 cloves, 8 cardamom pods,1/4 tsp fennel seeds and 1/8 tsp salt in a small saucepan over medium heat; cook just until bubbles form around the edge. Cover, remove from the heat and let sit for 30 minutes. Place the chopped chocolate in a bowl, briefly reheat the cream and then pour through a fine-mesh sieve into the chocolate. Let sit for a minute and then whisk smooth.


To roll the truffles:
  • Allow the ganache (from above) to firm and use a teaspoon or melon baller to scoop up room temperature ganache.
  • With gloved hands, roll the balls between your palms to round them off.


  • Dip in tempered chocolate or roll in various ingredients like cocoa or chopped nuts as desired.
  • Place on parchment paper until set.

Tips:
  • If dipping in chocolate, refrigerate the ganache balls before dipping so that they're firm and don't melt from the warm chocolate
  • For a thicker chocolate shell, dip once in tempered chocolate and allow to set. Then do a second dipping or smear a small amount of chocolate over the truffle and roll in desired ingredients
Enjoy!


Although I do not have a candy thermometer, I tried to temper some chocolate for dipping using an instant read thermometer (AKA pain in the a$$). I did get a chance to make a big mess, covered myself in chocolate and dipped a few.


Wednesday, July 27, 2011

July Daring Bakers Challenge - French Fraisiers

Jana of Cherry Tea Cakes was our July Daring Bakers’ host and she challenges us to make Fresh Frasiers inspired by recipes written by Elisabeth M. Prueitt and Chad Robertson in the beautiful cookbook Tartine.

As I imagined putting the components of this recipe together, I struggled to see how it was all going to happen by the 27th. But, whaddaya know, today is the 27th and the cake is done, has been delivered to my dear friend Allyson (Happy Birthday Al!) and even eaten by her and her family. The nice thing about this challenge is that all of the components could be made in advance and putting it all together didn't take very long. One thing I didn't really like about this finished dessert is that the recipes included didn't make enough pastry cream (or call for enough strawberries) for me to be able to use leftovers to decorate the top of the cake. Thus, the cake itself was a little boring looking (to me). Of course, I haven't yet seen what it looked like when they cut into it.

Now, on to the recipe. The first component I made was the chiffon cake. One of my very first posts on this blog was for a chiffon cake, so some of this background may be repetitive to my regular readers. But, for the sake of you just joining, or those who want to hear it again, I'll give a background. My favorite thing about chiffon cakes is that they were created by Americans. Most cakes and cake making methods were developed by the French. Chiffon cakes became popular in the US because they were simpler to make than traditional European cakes, and they could easily be made at home. Also, they used oil instead of butter, which made them less expensive to make. (This was important in the early 1900s during the Great Depression.) Chiffon cakes were light and fluffy (due to the addition of whipped egg whites), like a genoise cake, BUT they tasted better because they used oil and egg yolks to give richness and flavor. This was a Suzie Homemaker kind of cake!

To begin, preheat the oven to 325°F and line the bottom of an 8-inch spring form pan with parchment paper. Do not grease the sides of the pan. In your mixing bowl, stir together 5.5 oz all-purpose flour, 1 tsp baking powder, 4.5 oz sugar and 1/2 tsp salt.

In another small bowl, combine 2 fl oz canola oil, 3 large egg yolks, 60 ml water, 30 ml lemon juice and 1.5 tsp lemon zest. Whisk thoroughly. Combine with the dry ingredients and mix thoroughly for about one minute until very smooth.

Now, put 5 large egg whites (this will leave you with 2 yolks hanging around, find a few more and make ice cream when you are done!) into a stand mixer, and beat on medium speed until frothy. Add 1/4 tsp cream of tartar and beat on a medium until the whites hold soft peaks. Slowly add 1.5 oz additional sugar and beat on a medium-high speed until the whites are firm and shiny. Fold the whites into the yolk mixture until just combined. Pour into the prepared spring form pan and bake for 45-55 minutes until it passes the toothpick test. Allow the cake to cool in the pan on a wire rack. To unmold, run a knife around the sides to loosen the cake from the pan and remove the spring form sides. Invert the cake and peel off the parchment paper. Refrigerate for up to four days or freeze for a week.


I made this cake on Saturday and froze it until Tuesday.

You'll also need a simple syrup to moisten the cake during assembly. To make just enough for this cake, combine about 1/3 cup each of water and sugar, stir, then put on the stove over medium-high heat. Allow to boil so the sugar will dissolve. You can also add in flavorings like vanilla or other extracts, as well as fruit juice or liquor as the syrup is cooling. Once it's cool, you can store this in a closed container in the fridge for up to a month. (I store mine longer than that on occasion with no problems.) For this cake, I just made a simple sugar syrup, no flavorings.

To make the pastry cream mousse for the filling, pour 8 fl oz milk, 1/2 tsp vanilla and 1/8 tsp salt into a heavy saucepan and scald over medium-high heat. In another bowl, combine 2 T cornstarch with 2 oz sugar. Add to that 1 large egg and whisk until smooth. Once the milk is scalded, slowly add it to the sugar/egg mixture, while constantly whisking. Pour the entire mixture back into the saucepan and cook over medium heat until the custard is thickened and coats the back of a spoon. (You don't want it to boil.) Remove from heat and pass through a sieve into a large mixing bowl. Cool for 10 minutes, stirring occasionally, then add 1 oz butter cut up into small pieces. Cover the pastry cream with plastic wrap directly on the surface to prevent it from forming a "skin." Chill in the fridge for up to 5 days. When you are ready to assemble your Fraisier, make the mousse by first sprinkling 3/4 tsp gelatin over about 2 tsp cold water. Let it stand for a few minutes to soften. Then, remove about 2 oz of chilled pastry cream from the bowl, and place in a small metal bowl placed over a small saucepan of simmering water. Make sure the bottom of the bowl is not touching the hot water. Stir the pastry cream until hot (125 F, almost too hot to touch) then add the softened gelatin and stir to mix. Remove from the water bath, and whisk in the remaining cold pastry cream in 2 batches. In a separate bowl (or stand mixer), whisk 1 cup cold cream to medium-stiff peaks. Immediately fold the whipped cream into the pastry cream.


For assembly, line the sides of your spring form pan with plastic wrap. Don't worry about lining the bottom, you won't be using it.


Place the plastic-lined spring form rim on the serving plate of your choice and then fit 1/2 of your chiffon cake layer in the bottom. (I recommend using a long serrated knife to cut your cake layer in half, but some stores do sell a tool specifically for this purpose.) Use about 1/2 of your simple syrup to thoroughly soak the bottom cake layer.


Now, using about 2 pounds of fresh strawberries, line the sides of the spring form pan with center cut slices of strawberry, pushed together around the sides with the tips pointing upward. Then, pipe a line of pastry cream mousse around the berries and in the center of the cake. Cut the remaining strawberries (may want to save a few for the top for decoration) into quarters and add to the center of your pan, on top of the thin layer of pastry cream.


Pipe more pastry cream mousse over the top of the berries to make an even layer with the tops of the strawberries lining the sides. Add your second cake layer on top then soak it with the rest of the syrup. Scoop the remaining 1-2 T pastry cream mousse on the top of the second cake layer and, on top of that, lay a custom-cut circle of almond paste (rolled out on a lightly dusted surface of confectioner's sugar). You can decorate it however you want, but you might want to have saved some of the components to do this!

Sure wish I'd gotten a cross-sectional picture or at least one of the sides!

Tuesday, May 10, 2011

May Daring Bakers Challenge - Chocolate Marquis

After taking a month off to NOT create my own edible container with maple mousse, I'm back in the saddle again with the Daring Bakers. The May 2011 Daring Bakers’ challenge was hosted by Emma of CookCraftGrow and Jenny of Purple House Dirt. They chose to challenge everyone to make a Chocolate Marquise. The inspiration for this recipe comes from a dessert they prepared at a restaurant in Seattle.

This dessert REALLY appeals to me. It's creative, it's challenging, it's beautiful and it looks delish! Plus, because the meringue gets torched, it means I get to play with fire. Because the recipe makes SO MUCH, I was tempted to have people (might have to invite everyone I know) over to present it. But, because of the uncertainty of plating and finishing the dessert, as well as a newly discovered revelation regarding stress, I decided to halve the recipe instead and try it with a small (*intimate*) group. Since the marquis itself freezes well (it's in there now!), I can always decide to serve more once I've tried the presentation a time or two.

The dessert consists of several components. First, the marquis itself, which is a frozen custard that is thawed for serving. The marquis cube is coated in cocoa and placed upon a torched meringue and served with spiced nuts and a caramel. There are lots of different flavors and textures to enjoy!

Most components can be made ahead of time and stored (marquis and meringue in the freezer, caramel in the fridge), but I prefer to make the meringue at the time of serving. Since there are so many pieces to this, it's especially important to prepare your mis en place (get everything in place).


My first step was to make the chocolate base: Pour 6 oz hot (but not boiling) heavy cream over 6 oz bittersweet chocolate in a bowl. Whisk smooth after a minute or two. Add to that:
1/4 t salt
1/8 t cayenne
1/8 c tequila
1/8 c light corn syrup
1/2 t vanilla
1/8 c cocoa powder
1/16 t freshly ground black pepper
1 T unsalted butter, softened

Whisk smooth and set aside to cool somewhat.

Once the base is finished, begin whipping the eggs (6 large yolks + 2 large eggs) in a stand mixer for about 15 minutes until they lighten and become very fluffy.

Before


After


In the last few minutes of egg whipping, begin making a simple syrup by heating 1/3 c sugar with 40 ml water in a saucepan. Cook to softball stage (235 degrees) and then pour over whipping eggs, trying to place it in the crevice between the whisk and the edge of the bowl. Allow the meringue to continue whipping at high speed until cool (10 min or so). In a separate bowl, whip 1 c heavy cream to soft peaks.


When the meringue is cool, add in the chocolate base (give it a good whisk beforehand just to make sure it's smooth), being careful not to overly deflate the meringue. Fold in the whipped cream, then pour into a parchment-lined 8"x8" square pan. Wrap in plastic wrap (hit the surface of the custard) and put in the freezer to set for at least 4 hours.


Next, you can make your nuts and caramel. (Are you nuts?!?) To make the nuts, mix together 4 oz sugar, 1 t cinnamon, 1/4 t cayenne and 1/2 t salt. Whisk 1 large egg white in a separate bowl until frothy and thick. Add the spices to the egg white and whisk to combine completely. Add 1 cup blanched whole nuts (I used hazelnuts) to the mixture and toss with a spoon. Bake on a parchment-lined baking sheet at 350 for 30 minutes, until they turn golden brown. Set aside for serving.

To make the caramel, combine 4 oz sugar with 2 oz water in a heavy saucepan and cook over medium-high heat until a darkened caramel is formed. Temporarily remove the pot from the heat and carefully add in 4 oz heavy cream. (Be careful because this mixture will vigorously pop and bubble.) Once the cream's been added and the mixture settles down, return it to the heat (low is fine) and use a spoon to break up any hard pieces that have formed. When the caramel has darkened to the point you want it, remove it from the heat and add 1/2 t salt and 1 T tequila. Set aside until ready to serve.

When you are ready to serve, prepare the meringue (this makes approx. 2 cups) by combining 6 large egg whites, 7 oz sugar and a splash of apple cider vinegar in your mixing bowl. Stir over a double-boiler until the sugar has dissolved and the mixture is almost too hot for you to be able to put your finger in it. Move to the mixer and whisk the eggs to soft peaks. Add 1/4 t vanilla in the last few seconds of mixing.

When you are ready to serve, plate the meringue (pipe or scoop it onto the plate)and then torch it (or put under the broiler briefly) to give it some color. (Some others have suggested you can put any remaining meringue in a zip top plastic bag in the freezer until you are ready to use it again.)

Take the marquise out of the freezer and unmold it. Roll each of the 9 cubes in cocoa powder (about a cup), lay the cube on the meringue and let it soften in the refrigerator. Once it's softened, add the caramel and nuts and ENJOY!

Sunday, March 27, 2011

March Daring Bakers Challenge - Filled Meringue Coffee Cake

The March 2011 Daring Baker’s Challenge was hosted by Ria of Ria’s Collection and Jamie of Life’s a Feast. Ria and Jamie challenged The Daring Bakers to bake a yeasted Meringue Coffee Cake.

Yeast is a fabulous medium to work with. It's active, it smells good and it's scientific. Think of yeast in its envelope or jar as in a state of sleep. In order for it to work as a rising agent, it must be "woken up" or activated. This is done by adding sugar to feed it and/or a warm liquid to excite it. The best temperature for activating yeast is liquid around 100°F to 115°F. If the liquid is too cool, the yeast will not activate (the reason why yeast is sometimes stored in the freezer, it becomes dormant there), but too hot and the yeast will be killed! The best way to judge the temp of the liquid is to put your finger or hand in it and if you don't feel it or it feels only slightly warm, it's about right. Keep in mind that the normal body temperature is 98.6, so 100 degree water is right around there.

This recipes makes 2 round coffee cakes, each approximately 10 inches in diameter
The recipe can easily be halved to make one round coffee cake. I did decide to halve the recipe, since Todd and I just got back from eating and drinking our waistlines away in Mexico last week. The last thing I need right now is 2 large coffee cakes hanging around in my kitchen tempting me!

Ingredients:
4 c flour
1/4 c sugar
3/4 t salt
2 1/4 t active dried yeast
3/4 c whole milk (room temp)
1/4 c water
1/2 c unsalted butter at room temperature
2 large eggs at room temperature

For the meringue:
3 large egg whites at room temperature
1/4 t salt
1/2 t vanilla
1/2 c sugar

For the filling:
1 c chopped pecans or walnuts
2 T granulated sugar
1/4 t cinnamon
1 c chocolate chips or coarsely chopped chocolate

Directions:
To make the dough, combine 1.5 c of the flour with the sugar, salt and yeast in a large bowl (I used my Kitchen Aid mixer bowl.) In a saucepan, combine the milk, water and butter and heat over medium heat until warm and the butter is just melted.
With the mixer on low speed, gradually add the warm liquid to the flour/yeast mixture, beating until well blended. Increase mixer speed to medium and beat 2 minutes. Add the eggs and 1 cup flour and beat for 2 more minutes. Using a wooden spoon, stir in enough of the remaining flour to make a dough that holds together. Turn out onto a floured surface (use any of the 1.5 cups of flour remaining) and knead the dough for 8 to 10 minutes until the dough is soft, smooth, and elastic, keeping the work surface floured and adding extra flour as needed. This is my favorite part. Don't forget to make sure you get out any aggressions on the dough ball. It'll be better for it, and so will you!

Place the dough in a lightly greased bowl, turning to coat all sides. Cover the bowl with plastic wrap and a kitchen towel and let rise until double in size, 45 – 60 minutes.

While the dough is rising, make your filling by combining the cinnamon and sugar.

Once the dough has doubled, make the meringue, by beating the egg whites in a clean metal bowl with the salt. Beat until foamy, then add vanilla followed by the sugar, one tablespoon at a time, until stiff, glossy peaks form.


To assemble the coffee cakes, line 2 baking sheets with parchment paper. Punch down the dough and divide in half. On a lightly floured surface, working one piece of the dough at a time (keep the other half of the dough wrapped in plastic), roll out the dough into a 20 x 10-inch rectangle. Spread half of the meringue evenly over the rectangle up to about 1/2-inch from the edges. Sprinkle half of your filling evenly over the meringue. I had a helper with this part, that is when he wasn't reading the newspaper!


Now, roll up the dough starting from the long side. Pinch the seam to seal. Carefully transfer the filled log to one of the lined cookie sheets, seam side down. Bring the ends of the log around and seal the ends together, forming a ring, tucking one end into the other and pinching to seal. Using kitchen shears to make cuts along the outside edge at 1-inch intervals. Repeat with the remaining dough, meringue and fillings. Cover the 2 coffee cakes with plastic wrap and allow them to rise again for 45 to 60 minutes.

At this stage in the game (about 11 am), I left the house with Todd and Josh to go over to Todd's mom's house for what I thought would be lunch and then back home. I left the coffee cake proofing in the warming drawer of the oven. We didn't get home until after 3:00 and by then my coffee cake had over proofed, some of the outer portions of the dough were droopy, instead of tight and springy like they should be. This is what happens when you let yeast go wild for too long. I preheated the oven and baked it anyway. It looks great and will taste just fine I'm sure.


Preheat the oven to 350°F and brush the top of the cakes with beaten egg. Bake in the preheated oven for 25 to 30 minutes until risen and golden brown. The dough should sound hollow when tapped.

Remove from the oven and allow to cool on a rack. Just before serving, dust the tops of the coffee cakes with confectioner’s sugar as well as cocoa powder if using chocolate in the filling. These are best eaten fresh, the same day or the next day.

And, this is another one of those things that goes GREAT with a cup of coffee. Enjoy!

Friday, February 25, 2011

February Daring Bakers Challenge - Panna Cotta and Florentines

The February 2011 Daring Bakers’ challenge was hosted by Mallory from A Sofa in the Kitchen. She chose to challenge everyone to make Panna Cotta from a Giada De Laurentiis recipe and Nestle Florentine Cookies.

This was the perfect time for panna cotta. I don't know about you, but February was a blur for me, went by so quickly, without a whole lotta time to spend in the kitchen making desserts. So, I was happy to see this challenge. Panna Cotta is S.I.M.P.L.E. Not only that, it's really good. And, it's flexible, you can do whatever you want with it. And, last of all, it's jiggly!

Panna Cotta literally means "cooked cream." Which is what it is. Panna cotta is usually made up of a few ingredients: milk, cream, sugar and gelatin.

Ingredients
1 cup milk
1 tablespoon gelatin
3 cups cream
1/3 cup honey
1 tablespoon sugar
pinch of salt

Directions:

1. Pour the milk into a bowl and sprinkle gelatin evenly and thinly over the milk and let stand for 5 minutes to soften.
2. Pour the milk into a saucepan and heat over medium heat until hot, but not boiling, about five minutes.
3. Add cream, honey, sugar, and salt. Making sure the mixture doesn't boil, continue to heat and stir occasionally until the sugar and honey have dissolved 5-7 minutes.
4. Remove from heat, allow to cool slightly then pour into glass, ramekin or mold. 5. Refrigerate at least 6 hours or overnight.

VARIATION: Add a tablespoon or two of espresso powder to the warm mixture (I DID!)

After I made the mixture, I poured it into the ramekins and let them set over night. To finish the dessert, I made a small batch of coffee gelee, just a little coffee, some sugar, some gelatin and let it cool to room temp, then poured in the last 1/8 inch of the ramekin. Once set, run a knife along the edge, and turn upside down on a plate. You can garnish with some chopped hazelnuts. Enjoy!