
The Daring Bakers go retro this month! Thanks to one of our very talented non-blogging members, Sarah, the Daring Bakers were challenged to make Croissants using a recipe from the Queen of French Cooking, none other than Julia Child!
Now, it's been a while since I've made croissants. I first attempted to make them years ago for a brunch party I was throwing at my first home, circa about 2001. I didn't understand the CRUCIAL importance of all of the steps and the folds and thus, my croissants came out a bit like hockey pucks. Flat, a little too buttery (there is such a thing) and too tough. So sad, but, everyone has a bad day. Back then, I had a lot of them in the kitchen. I learned a lot of baking tips since then and made croissants again while attending pastry school at the Institute of Culinary Education. For that post and to walk down my memory lane at pastry school, check out Heidi at ICE.
Anyway, just a couple of VERY SIMPLE things that I've learned that help this (and many other) recipe go much more smoothly.
1. Always assemble your needs in advance. This includes ingredients and equipment/tools. Make sure you've got what you need before you start so you don't end up running to the grocery store in socks and pjs while your yeast is dissolving...

2. Read through the recipe in its entirety. For this recipe in particular, there are many steps and some of them involve resting dough for hours (or overnight), so reading in advance helps you prepare and anticipate your timelines. You don't want to start a cheesecake you need for this evening at 11:00 am, or it won't have time to cool, chill and set before you take it with you!
3. Get a camera! Finally, I am learning to have a camera nearby, so I can show off my creations. Fantastic if you are making something you've never made before. Don't you want to be able to brag about the stuff you made?
Now, a little bit of info and background on the croissant. Croissants are buttery, flaky pastries made from a type of dough that's called a rich dough. This is opposed to a lean dough, which is the type used to make breads. A big difference between lean and rich doughs (besides their fat content) is that you can handle lean doughs pretty vigorously, but rich doughs need special attention, in particular with regard to temperature and handling. For croissants, once the dough is prepared, the butter must be incorporated COLD into the dough using folds called the simple or three-fold, as well as multiple turns. Basically, a brick (or stick in this case) of butter is pounded out thinly while still cold and shaped into a rectangle. The rectangle is then placed on top of the rectangle of dough and the dough is folded over it like a letter, multiple times with rests in between. This technique is called laminating. The resulting dough is called a laminated dough, and contains many alternating layers of dough and butter, which helps to give it rise and flakiness.
The modern croissant came about in 19th century Paris and, in French, translates to "crescent." Although non-crescent shaped flaky dough pastries are sometimes called croissants, that's technically incorrect since they are not a crescent shape. Just between you and I, the ones that are shaped like squares are usually filled with something and the shape indicates that they are filled.
According to Wikipedia, the extreme popularity of croissants worldwide had to do with the development of factory-made, frozen, pre-formed, unbaked croissants in the 1970s. This was a French response to American-style fast food, and supposedly 30-40% of croissants sold in French bakeries are made from this frozen dough today.
CAN YOU BELIEVE THAT?
Well, once you read on about how croissants are made, you will begin to see how and why people thought to streamline the process.
The very first thing I did when getting ready to start my croissants was to print out the recipe and document how long long (i.e. what steps had to occur at what times) everything was supposed to take. Got to build in a little buffer too. Here's what my timeline looks like:
Mis en place, 10 minutes: 1:30-1:40
Making dough, 10 minutes: 1:40-1:50
First Rise, 3 hours: 1:50-4:50
Knead and fold, 5 minutes: 4:50-5:00
Gotta go pick up Josh from Daycare now, so it's a good time to put the dough in the fridge for a second rise.
Second Rise, 1.5 hours (or overnight in fridge): 5:00-6:30
Rolling in the butter (first 2 turns): 6:30-6:40
First rest, 2 hours: 6:40-8:40
Turns 3 and 4, 10 minutes: 8:40-8:50 (or so I'd planned. This step ended up taking me 40 minutes because the dough was not ready to be rolled and turned twice. You cannot force dough to roll out if it does not want to roll out.) I put it back in the fridge around 9:30.)
Second rest, 2 hours (or overnight in fridge): 8:50-10:50 (this step ended up going from 9:30-11:30)
Form croissants, 30 minutes: 10:50-11:20 (this step began around 11:30 pm and I ended up putting the formed croissants in the fridge around 12:45. So, like I said, build in a little buffer...)
At this point I put them in the refrigerator, lightly covered with plastic wrap, overnight.
Final rise, 1 hour: 6:30-7:30
Baking, 15 minutes: 7:30-7:45
Since I was trying to have one (or two) of these croissants for breakfast tomorrow morning (and my sweetheart wanted some too!), I had to adjust my timelines and plan to have the croissants' final rise occur overnight in the fridge. Alternatively, the croissants can be formed and then frozen (with then a thaw and final proof before baking them). This process can occur as quickly as 12 hours, but can take several days to actually perform.
Croissants (Julia Child)
¼ oz fresh yeast, or 1¼ teaspoon dry-active yeast
3 T warm water (less than 100°F)
1 tsp sugar
1 3/4 c strong plain flour (I used bread flour)
2 tsp sugar
1½ tsp salt
½ c milk (I used 1%)
2 T vegetable oil
½ c (1 stick) chilled, unsalted butter
1 egg + 1 tsp water, for egg wash
Directions:
1. Mix the yeast, warm water, and first teaspoon of sugar in a small bowl. Leave aside for the yeast and sugar to dissolve and the yeast to foam up a little.

2. Measure out the other ingredients, placing the milk in a small saucepan and the flour in a large bowl.
3. Heat the milk until tepid, and dissolve in the salt and remaining sugar.
4. Add the oil, yeast mixture, and milk mixture to the flour.
5. Mix all the ingredients together using a rubber spatula, just until all the flour is incorporated.
6. Turn the dough out onto a floured surface, and let it rest a minute.
7. Wash our your bowl, you can use it for resting.
8. Knead the dough eight to ten times only. The best way is to smack the dough on the counter then remove it from the counter using a pastry scraper. You want to develop enough gluten to create structure, but not so much as to result in a tough pastry.
9. Place the dough back in the bowl, and cover it with plastic wrap.
10. Leave the bowl at approximately 75°F for three hours, or until the dough has tripled in size.
11. After the dough has tripled in size, remove it gently from the bowl, pulling it away from the sides of the bowl with your fingertips. It'll be sticky.
12. Place the dough on a lightly floured board or countertop, and use your hands to press it out into a rectangle about 8 by 12 inches.

13. Fold the dough rectangle in three, like a letter (fold the top third down, and then the bottom third up). This is called the simple or three-fold.
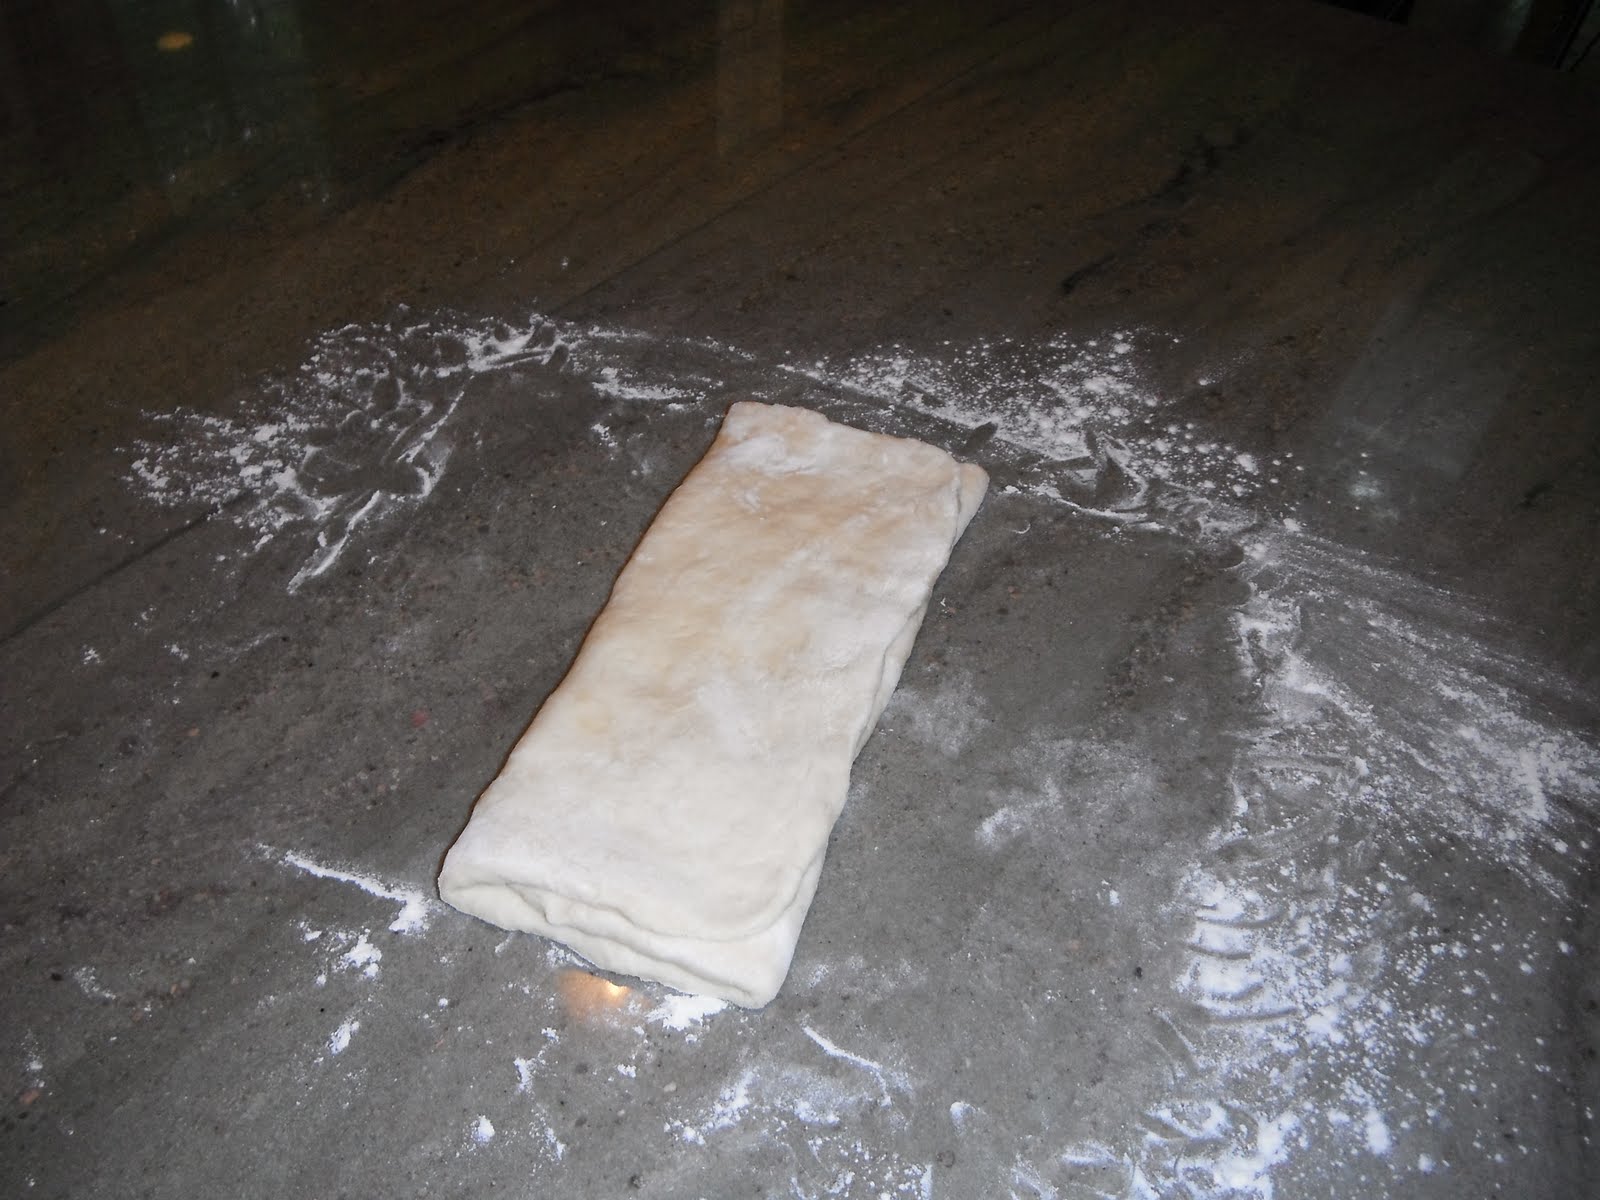
14. Place the dough letter back in the bowl, and cover it back up. (I put it on a small baking sheet so it didn't have to crumple up.)
15. Leave the dough to rise for another 1.5 hours, or until it has doubled in size. This second rise can be done overnight in the fridge.
16. Place the double-risen dough onto a plate and cover tightly with plastic wrap. Place the plate in the fridge while you prepare the butter.
17. Once the dough has doubled, it’s time to incorporate the butter.
18. Place the block of chilled butter on a chopping board.
19. Using the rolling pin, beat the butter down a little, till it is quite flat. I use a floured board and also sprinkle some flour on the butter, which helps to absorb any excess water in the butter. It also minimizes sticking.
20. Use the heel of your hand to continue to spread the butter until it is smooth. You want the butter to stay cool, but spread easily.
21. Remove the dough from the fridge and place it on a lightly floured board or counter. Let it rest for a minute or two.
22. Spread the dough using your hands into a rectangle about 14 by 8 inches.
23. Place the butter on the top half of the dough rectangle.
24. Spread the butter all across the top two-thirds of the dough rectangle, but keep it ¼ inch across from all the edges.

25. Fold the top third of the dough down, and the bottom third of the dough up.
26. Turn the dough package 90 degrees, so that the top flap is to your right (like a book).
27. Roll out the dough package until it is again about 14 by 8 inches.
28. Again, fold the top third down and the bottom third up.
29. Wrap the dough package in plastic wrap, and place it in the fridge for 2 hours.
30. Take the dough out of the fridge and place it again on the lightly floured board or counter.
31. Tap the dough with the rolling pin, to deflate it a little.
32. Let the dough rest for 8 to 10 minutes.
33. Roll the dough package out till it is 14 by 8 inches.
34. Fold in three, as before in step 25.
35. Turn 90 degrees, and roll out again to 14 by 8 inches.
36. Fold in three for the last time, wrap in plastic, and return the dough package to the fridge for two more hours (or overnight, with something heavy on top to stop it from rising).
37. Take the dough out of the fridge and let it rest for ten minutes on the lightly floured board or counter.
38. Roll the dough out into a 20 by 5 inch rectangle.
39. Cut the dough into two rectangles (each 10 by 5 inches).
40. Place one of the rectangles in the fridge while you work, to keep the butter cold.
41. Roll the rectangle out to 15 by 5 inches and cut into 6 triangle shapes.

42. Stretch each triangle out a little and roll towards the point. Curve into a crescent shape, leaving the flap hanging over the top.
43. Place the unbaked croissants on the baking sheet and brush them with egg wash (egg + tsp water).
44. Leave the tray of croissants, covered lightly with plastic wrap, to rise for 1 hour. Alternatively, place to rise in an unheated oven along with a saucepan of boiling water to create steam.

45. Preheat the oven to very hot 475°F. (I found this temperature to be TOO hot, other recipes call for a baking temp of 425°F, some turn the temp down to 400°F.)
46. Do a second egg wash.
47. Bake for 12 to 15 minutes, until the tops are browned nicely.
48. Remove from the oven, and place on a rack to cool for 10 minutes before serving.
To create filled croissants, place a dab (ok, about a tablespoon) of filling of your choice in the center of the beginning end of the triangle (across from the tip) before you begin to roll.
The filling I chose to make was Almond Cream.
Ingredients
3 oz butter, softened
3 oz sugar
smidgen of lemon zest (optional)
1 whole egg
1 egg yolk
2 drops vanilla
3 oz almond flour (or finely ground almonds in a food processor will work)
1 oz flour
Directions
Cream butter, sugar and zest until light and fluffy. Add egg/yolk and vanilla, and mix until smooth. Stir in almond flour and flour with a spoon. Refrigerate until ready to use. Remember: Even though you may be tempted to eat this directly from your spoon, it does have raw egg and *technically* should be baked first.
I really enjoyed this challenge. Homemade croissants are such a treat, plus I particularly enjoy slamming the dough down on the counter and beating the butter block. :) All in all, however, I was not pleased with the way my croissants turned out. The butter was not well incorporated, so I did not get the layers and the rise I was hoping for. The tops of the croissants got quite brown, but the inside just didn't seem all the way "done." I do think this could be an issue of the baking temperature. I'm planning to make these again later in the month (if possible) and see if I can make them look a little better.
In preparation for this challenge, I watched the following 2 videos of Julia Child learning how to make croissants from French baker Esther McManus. They are educational and heart-warming! Plus, they'll make your mouth water.
Video #1
Video #2
No comments:
Post a Comment